Ready to deploy? Follow these quick steps to install the Schema Pillar Pro plugin, connect your secure headless updates, and activate your premium Entity Authority features.
Depending on how you acquired Schema Pillar Pro, there are two easy ways to install it:
Once the installation completes, simply click the blue Activate Plugin button. You will instantly see the new Schema Pillar Pro shield icon appear in your left-hand WordPress admin menu.

To establish your Single Source of Truth and unlock the 27+ advanced schema builders, you need to sync your site with the Entity Authority Platform cloud.
Navigate to Schema Pillar Pro > Admin (or License) in your WordPress sidebar. Enter your secure license key and click "Save & Activate License".
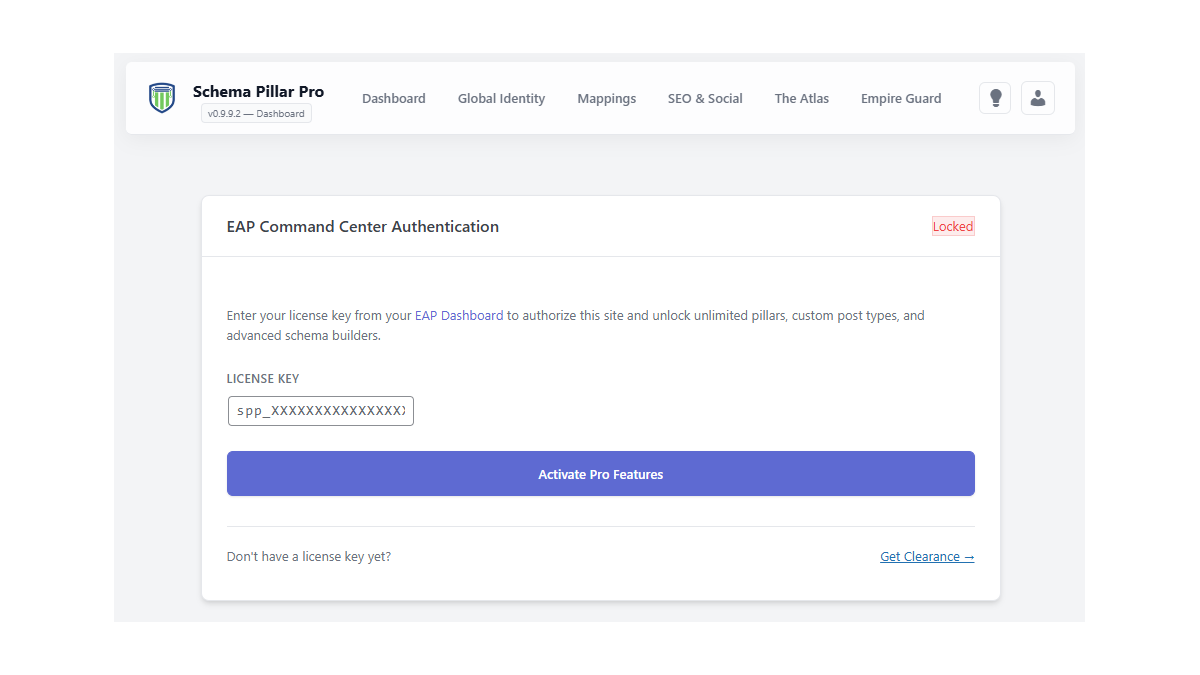
Success! Your site is now securely connected to our headless API. You will automatically receive push updates directly from the cloud without ever needing to upload another zip file.